
Quick Summary
This buttermilk dinner roll recipe is easy to make and the rolls turn out perfectly every single time. The rolls are soft, fluffy, buttery, and SO delicious. Serve along side any meal, they are always a crowd pleaser.
What is usually the best part of any meal? The ROLLS!
A warm, buttery, soft roll always makes a meal special. It is what most people look forward to at holiday meals, Sunday dinner, or any special celebration.
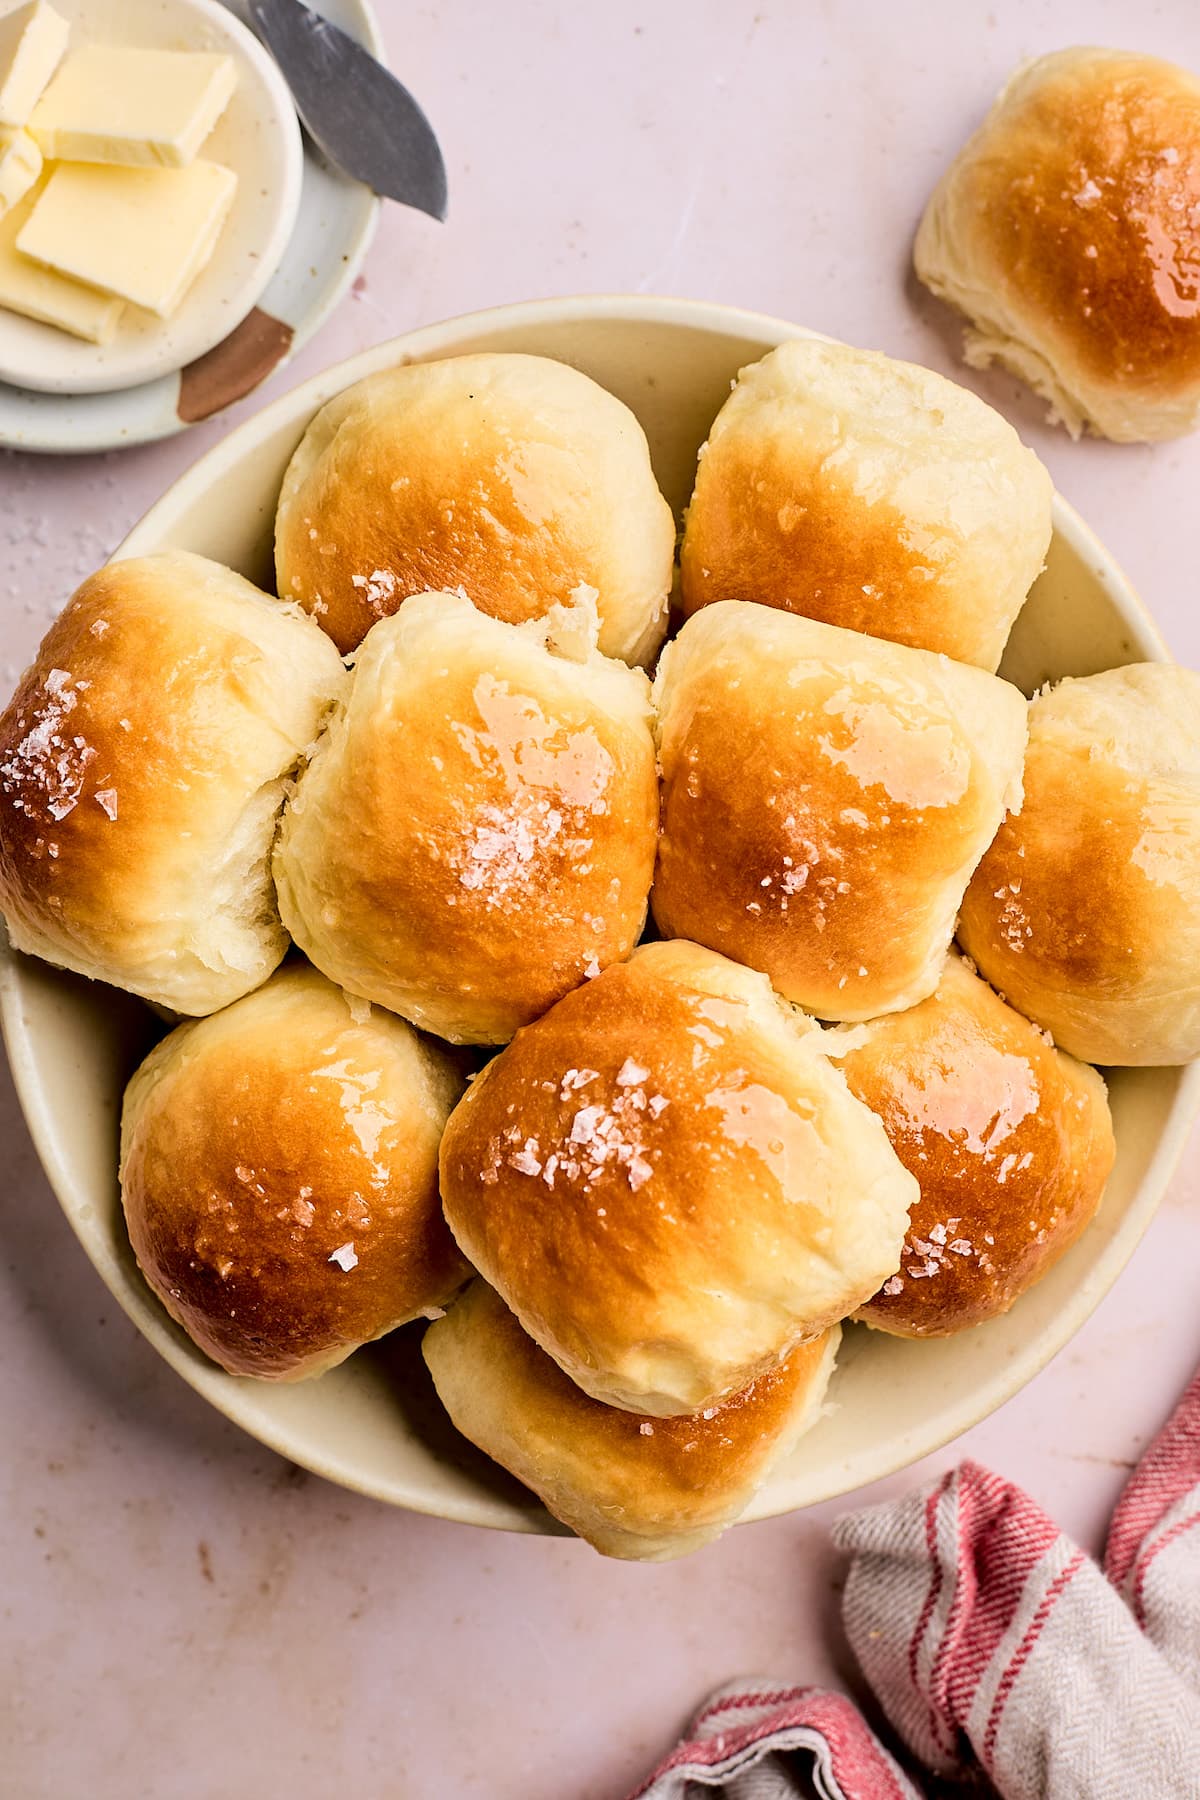
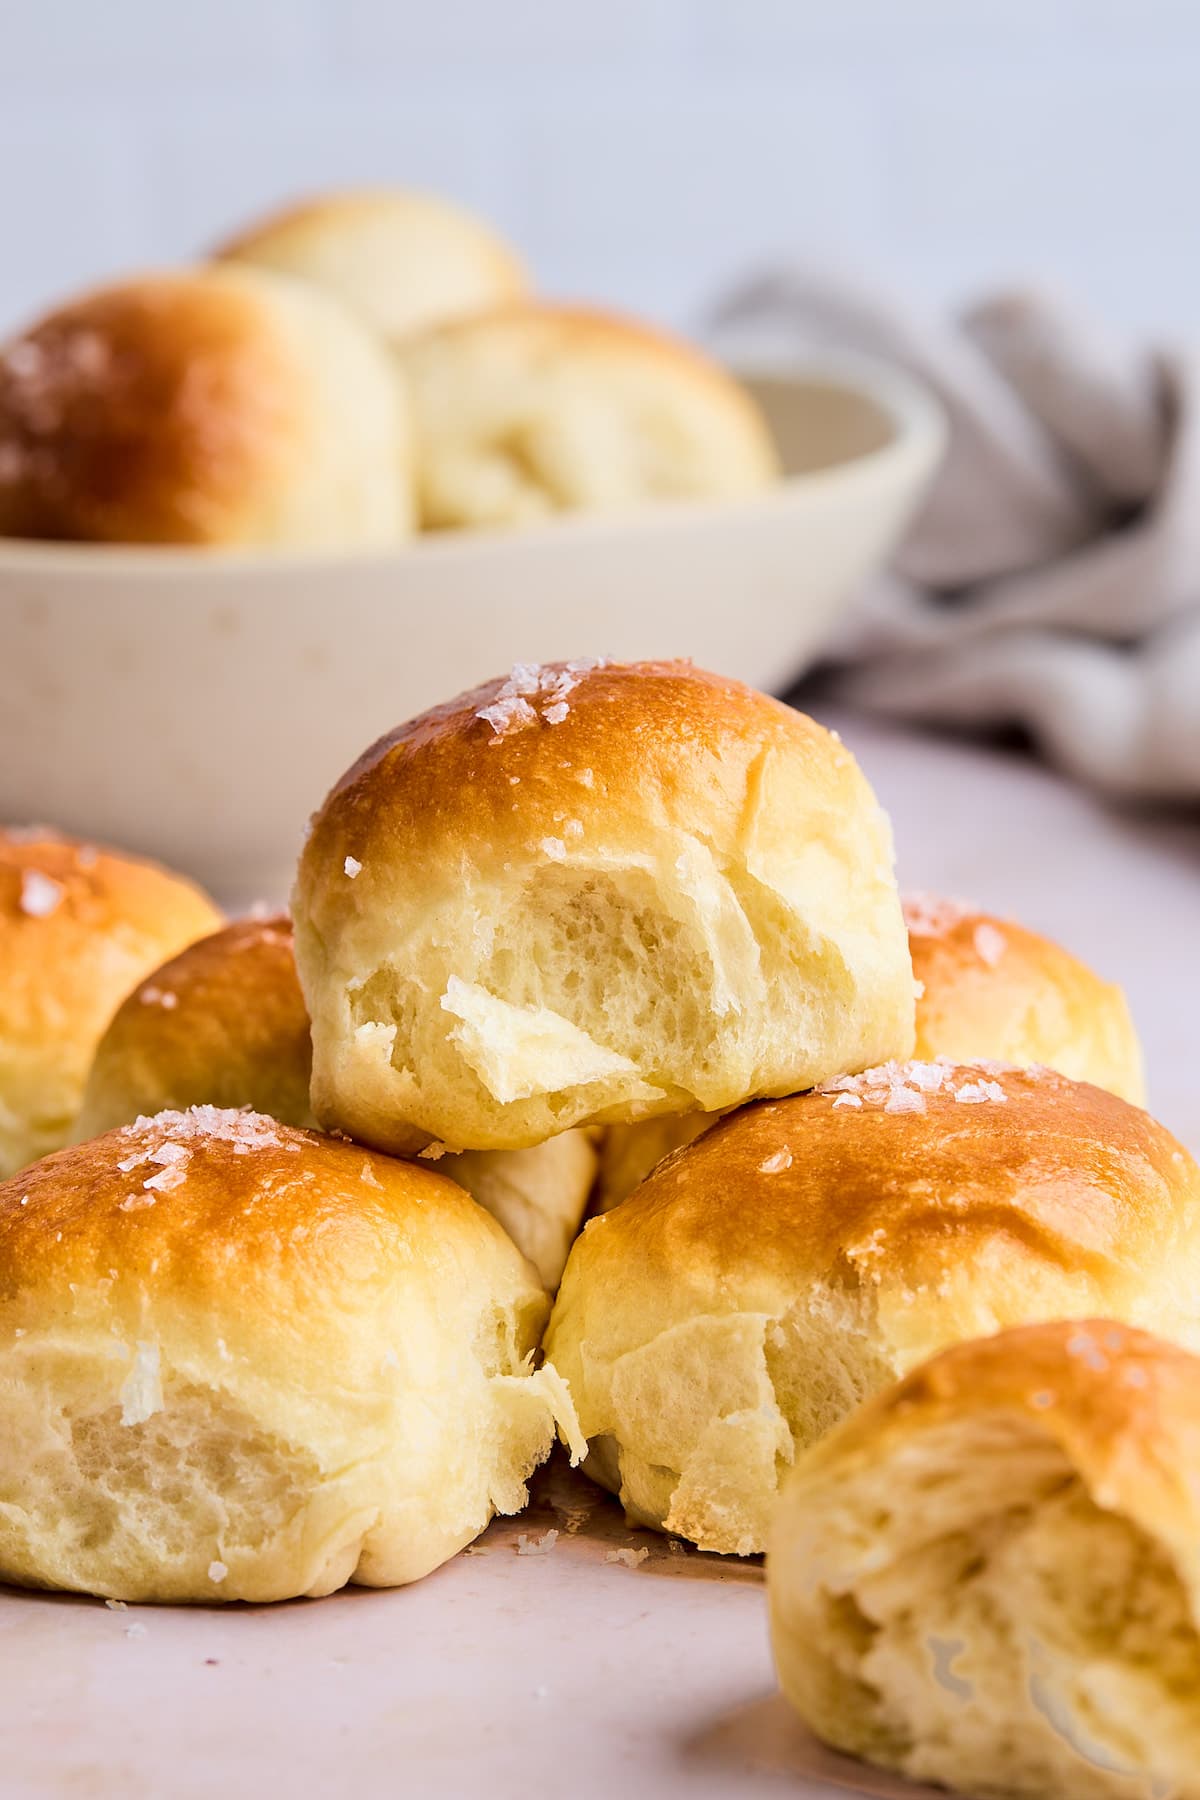
If you are looking for the perfect dinner roll recipe, look no further. This dinner roll recipe is it! They are perfect in every way…soft, tender, fluffy, buttery, slightly salty, melt in your mouth deliciousness!
And the best part? The recipe is straightforward and simple. Sure, the rolls take some time to make because you have to let the dough rise, but that is hands-off time. I promise these rolls are worth the effort. Plus, they turn out perfect every single time.
I included step-by-step photos below to help you along the way. I guarantee this will be your go to roll recipe from now on! Make them for Thanksgiving, Christmas, Easter, or any celebration. They are also great for weeknight dinners or served with soup or salad for lunch. You can also make them just because you want to eat homemade rolls. They are good anytime!
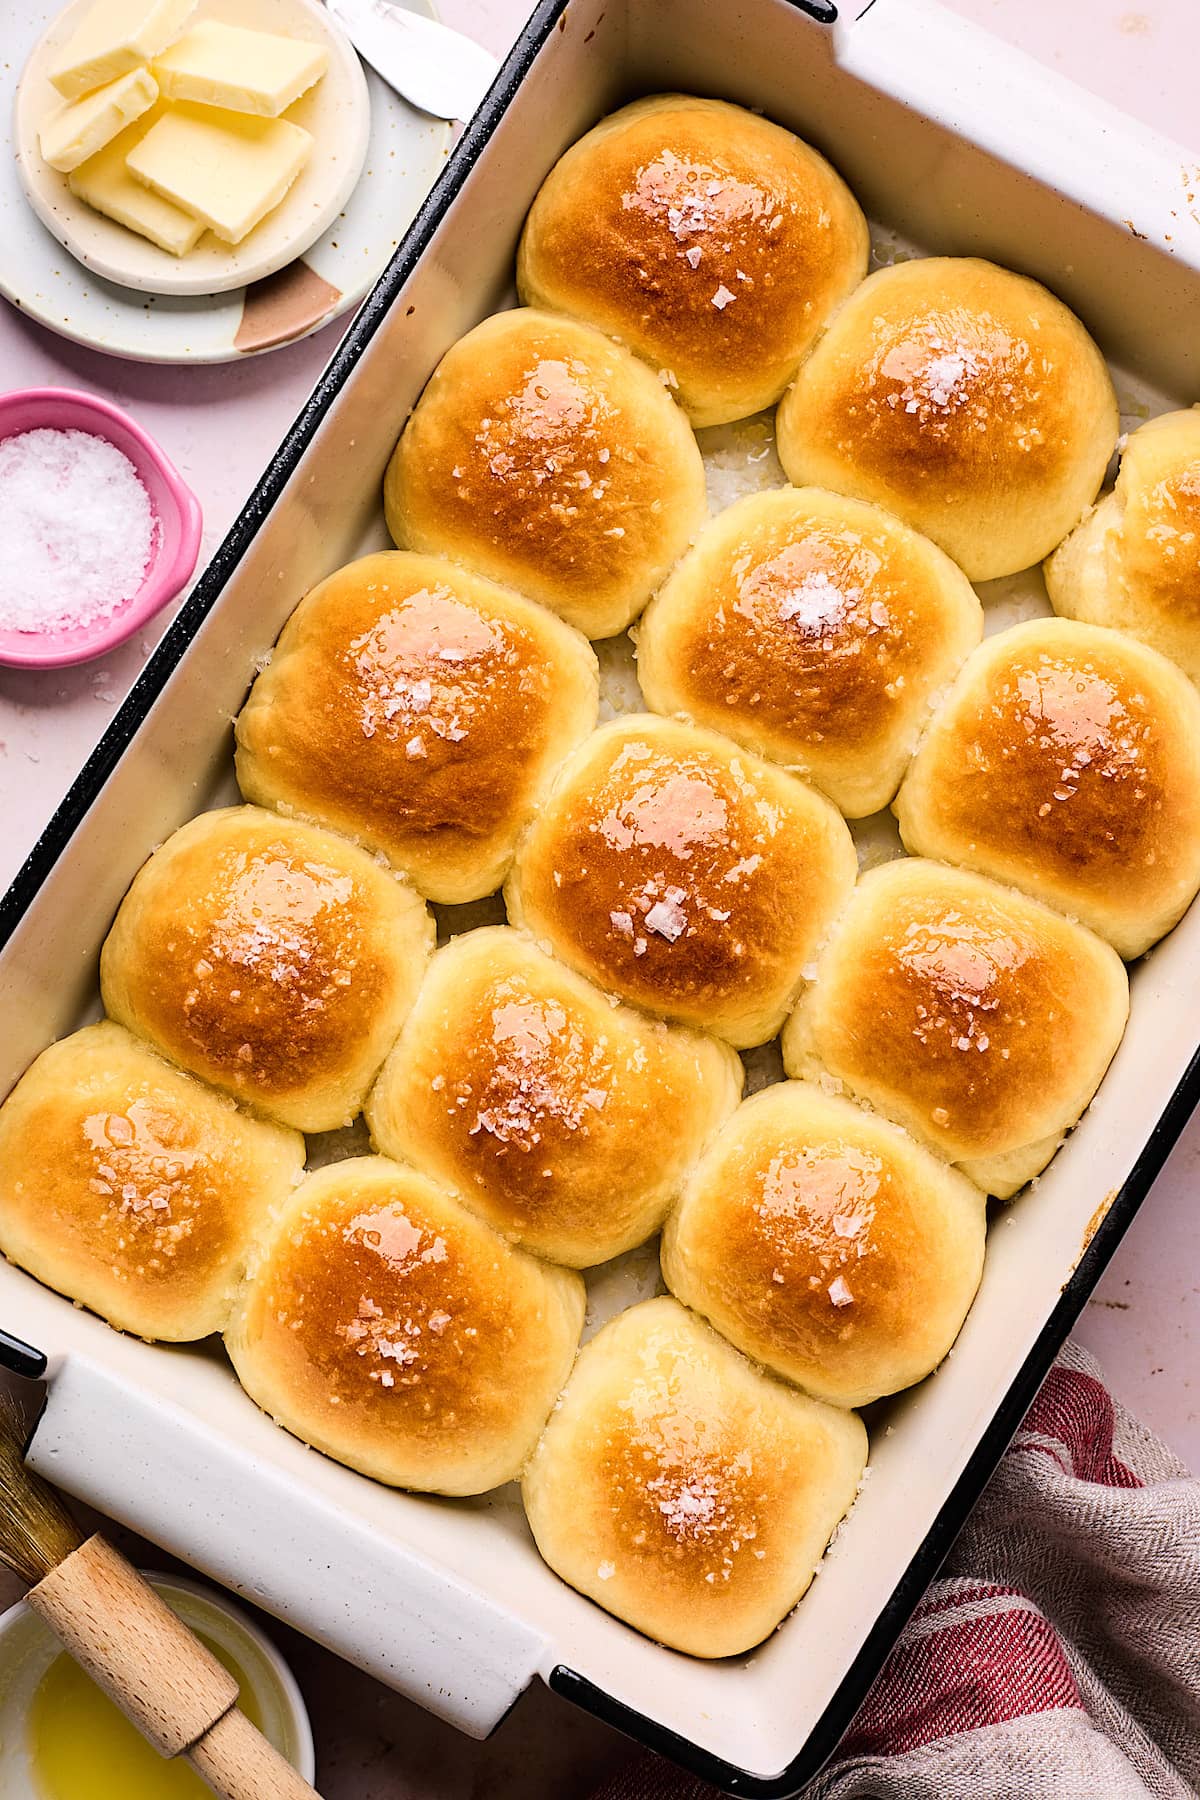
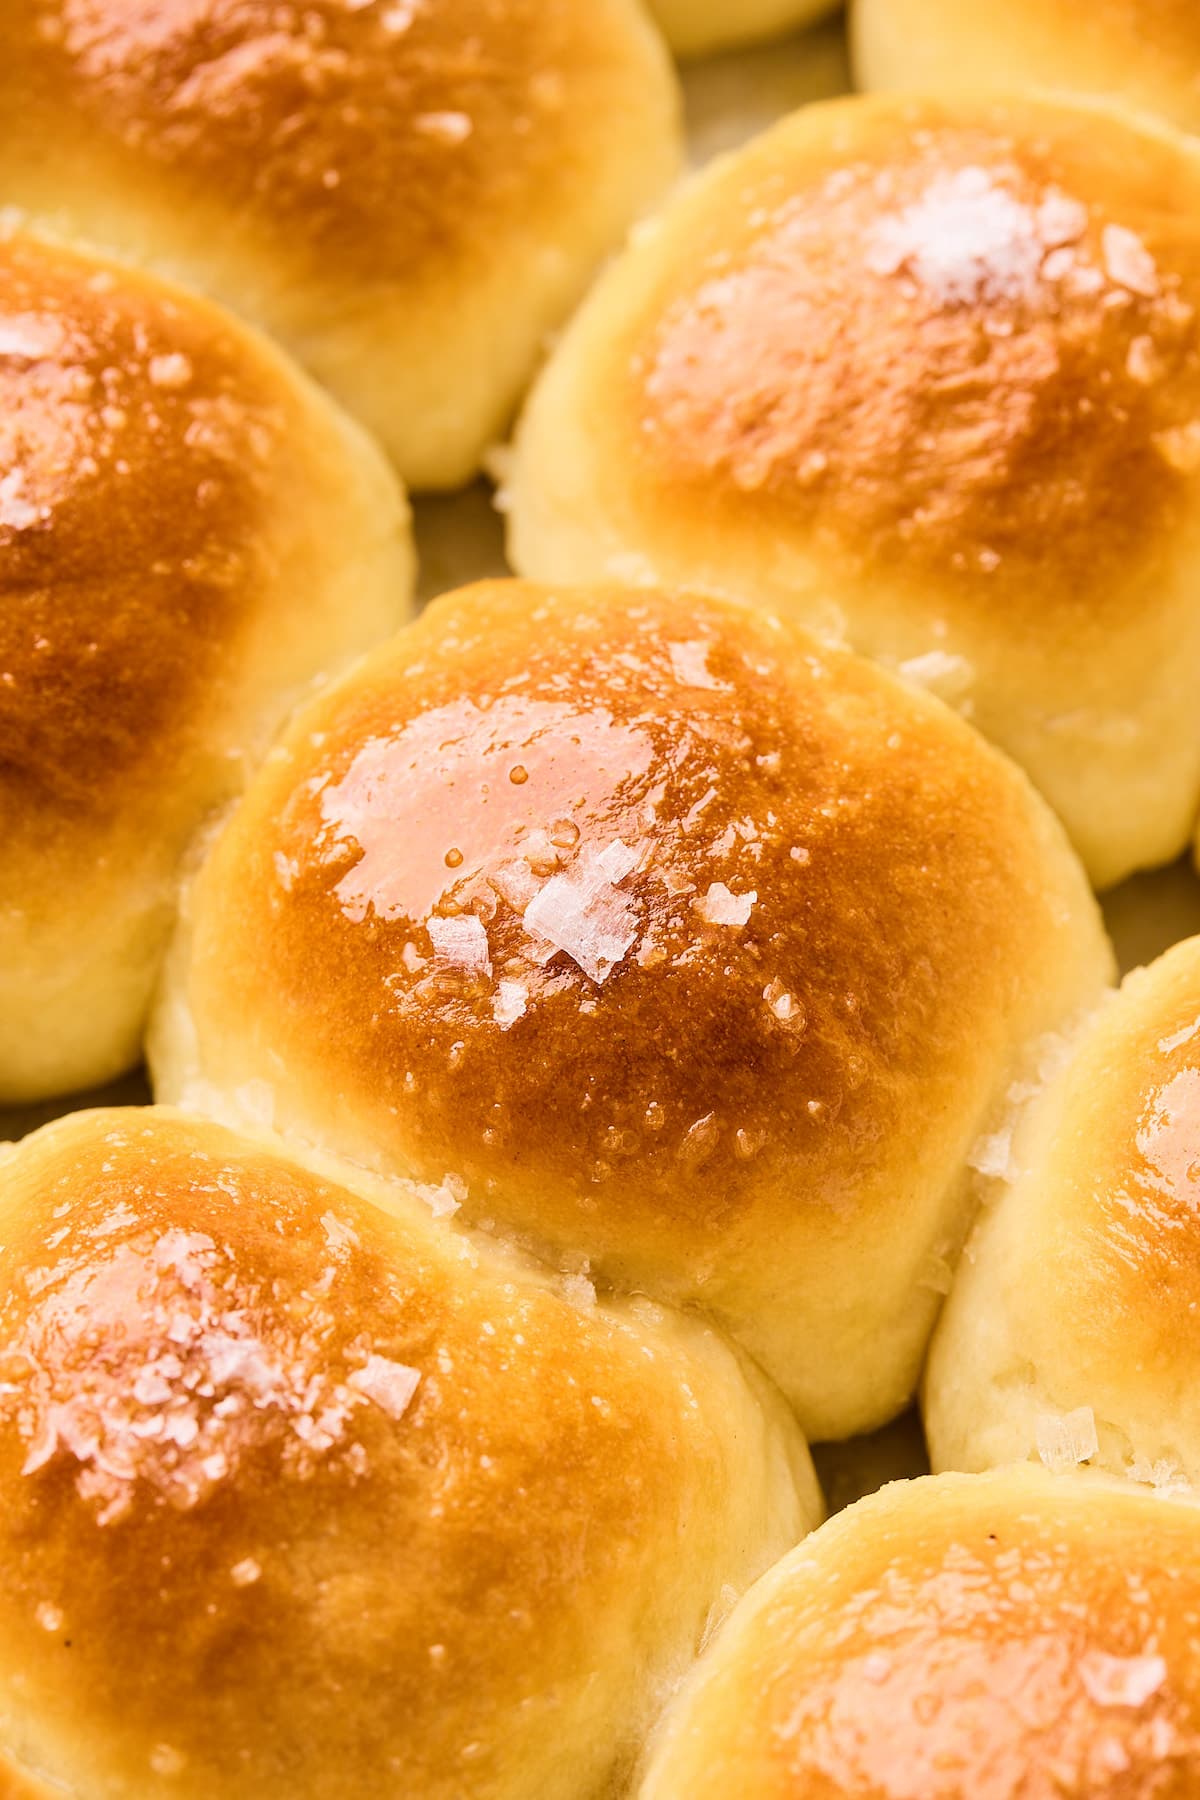
They are SO good served warm, fresh out of the oven, with melted butter on top with a little flaky sea salt.
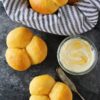
If you want to go all out, pry open a roll and spread it with extra butter, jam, honey, or my personal favorite honey butter. YUM!
Table of Contents
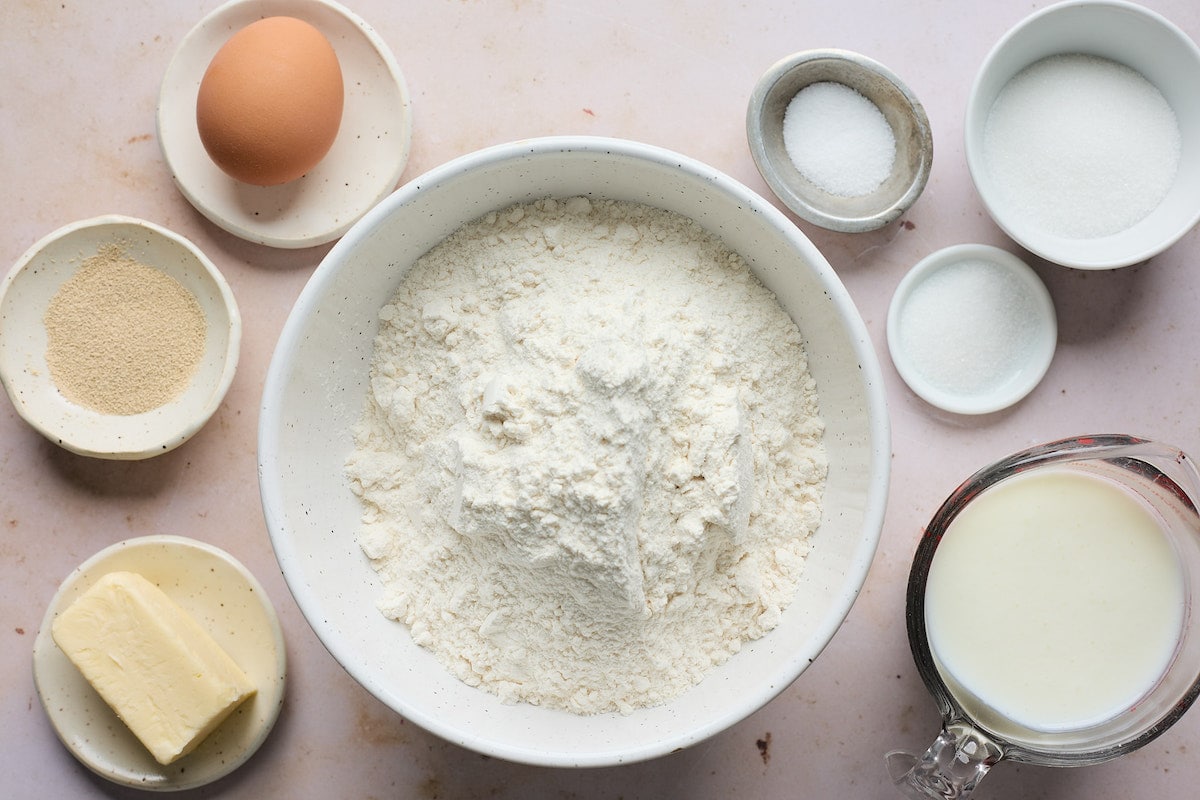
Ingredients
- Buttermilk– I use low-fat buttermilk. Make sure it is warm, about 110 degrees F. You can warm it in the microwave or on the stovetop. You don’t want it too hot or it will kill the yeast. Buttermilk is acidic and softens the gluten in the rolls making them extra tender. We also love the flavor. If you don’t have buttermilk, you can substitute whole milk. The rolls will have a slightly different flavor and texture.
- Instant yeast– you will need 2 ¼ teaspoons which is 1 standard yeast packet.
- Granulated sugar– to slightly sweeten the rolls and to help the yeast activate.
- Egg– to tenderize the rolls and make them light and fluffy.
- Butter– use unsalted butter that is at room temperature.
- Salt– kosher salt enhances the flavors of the rolls.
- Flour– use all-purpose flour. I start with 3 cups, but if your dough is too sticky you can add a little at a time.
- Melted butter & Flaky Sea Salt– for topping the rolls.
How to Make Dinner Rolls
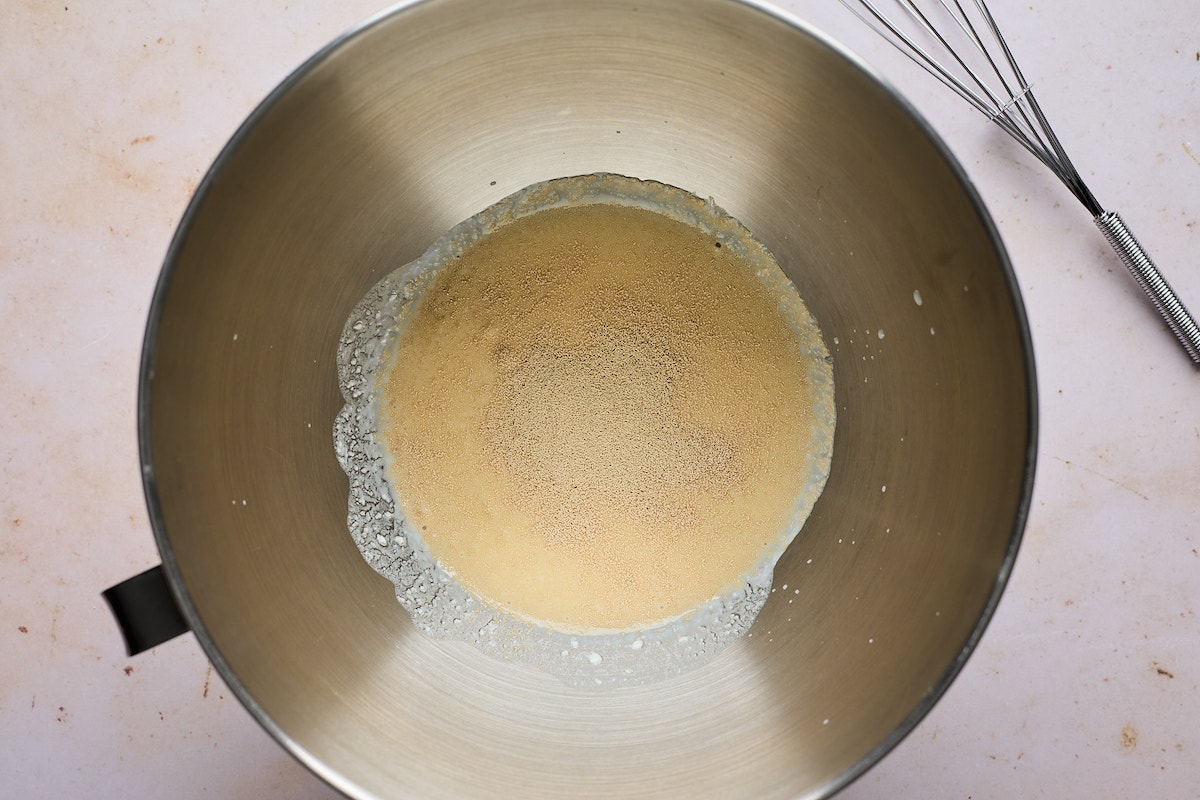
- In the bowl of a stand mixer, whisk together the buttermilk, yeast, and 1 teaspoon of the granulated sugar. Let sit for 5 minutes.

- Add the remaining 2 tablespoons of sugar, egg, softened butter, salt, and 1 cup of the flour. Mix on low with the paddle attachment until well combined. Use a spatula to scrape down the sides of the bowl.

- Add the remaining flour. Switch to the dough hook and mix for about 2 minutes or until the dough forms a ball and pulls away from the sides of the bowl. If the dough is too sticky add a little more flour, 1 tablespoon at a time. The dough should be elastic and a little sticky, but still workable.
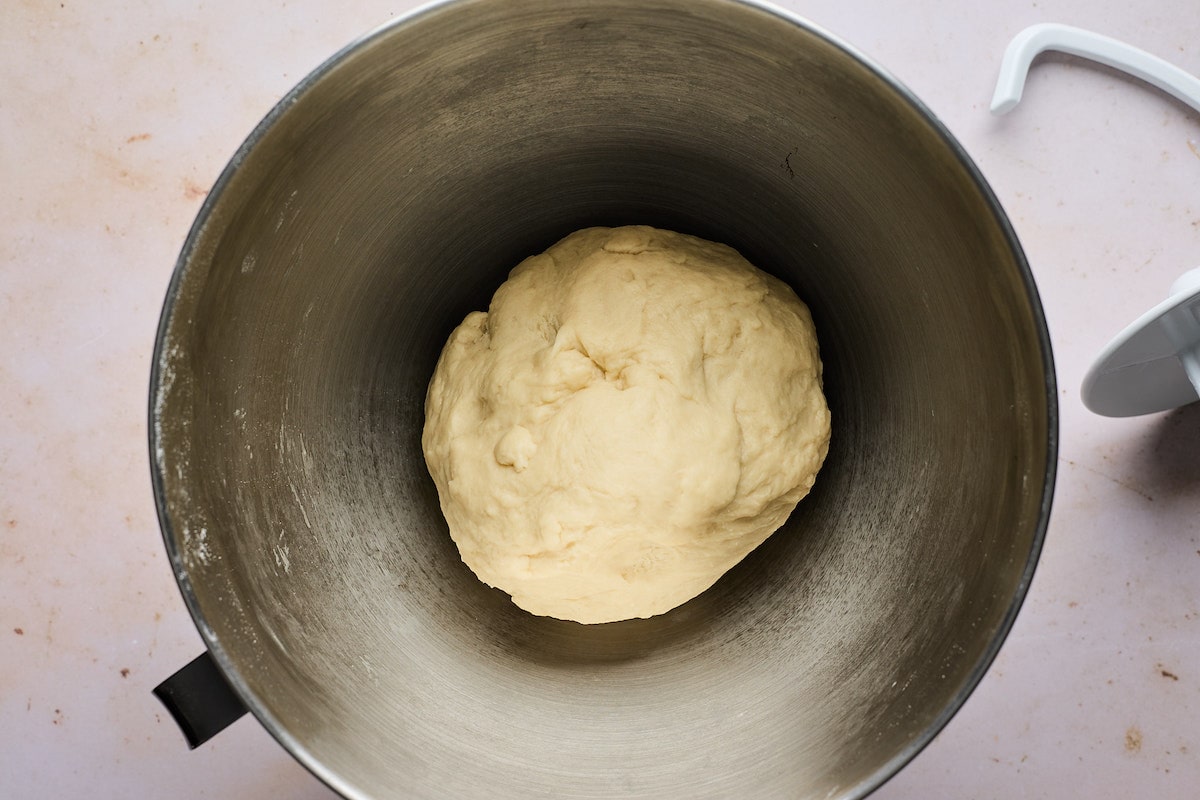
- You can use the dough hook to knead the dough for 3 to 5 minutes or you can transfer the dough to a lightly floured surface and knead by hand. Make sure you flour your hands if you are kneading by hand.
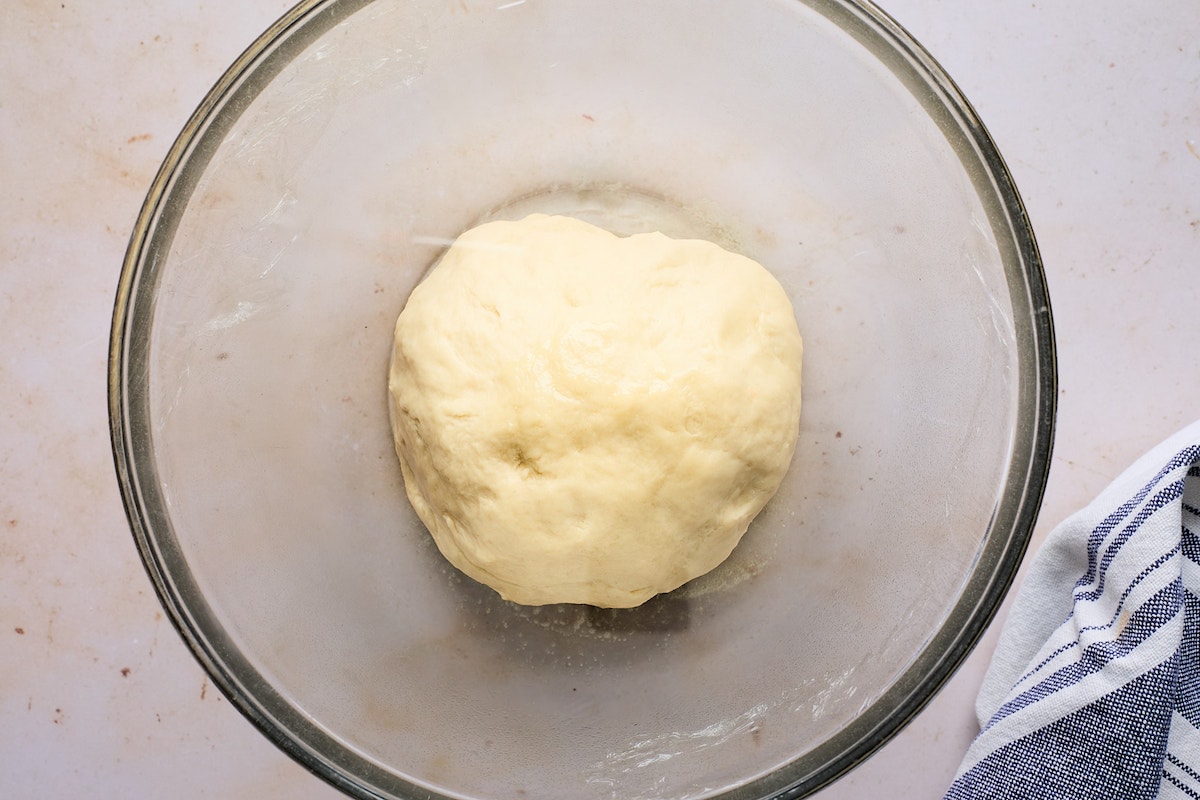
- Spray a large bowl with cooking spray and place the dough in the bowl. Cover the bowl with plastic wrap or a clean kitchen towel. Place the bowl in a warm, draft free place and let rise for 1 hour or until doubled in size.
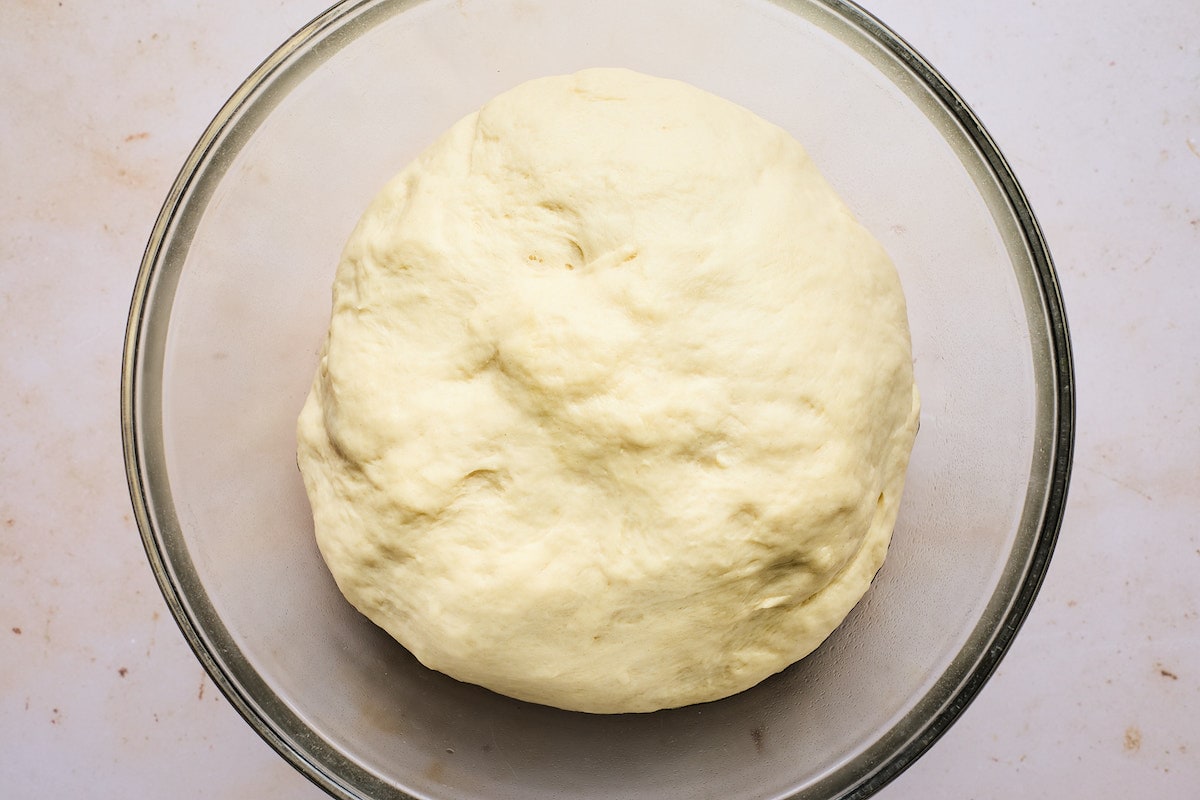
- After the dough has risen, punch the dough down in the bowl to release some air.
- Grease a 9×13-inch baking pan or large cast iron skillet with softened butter and set aside.
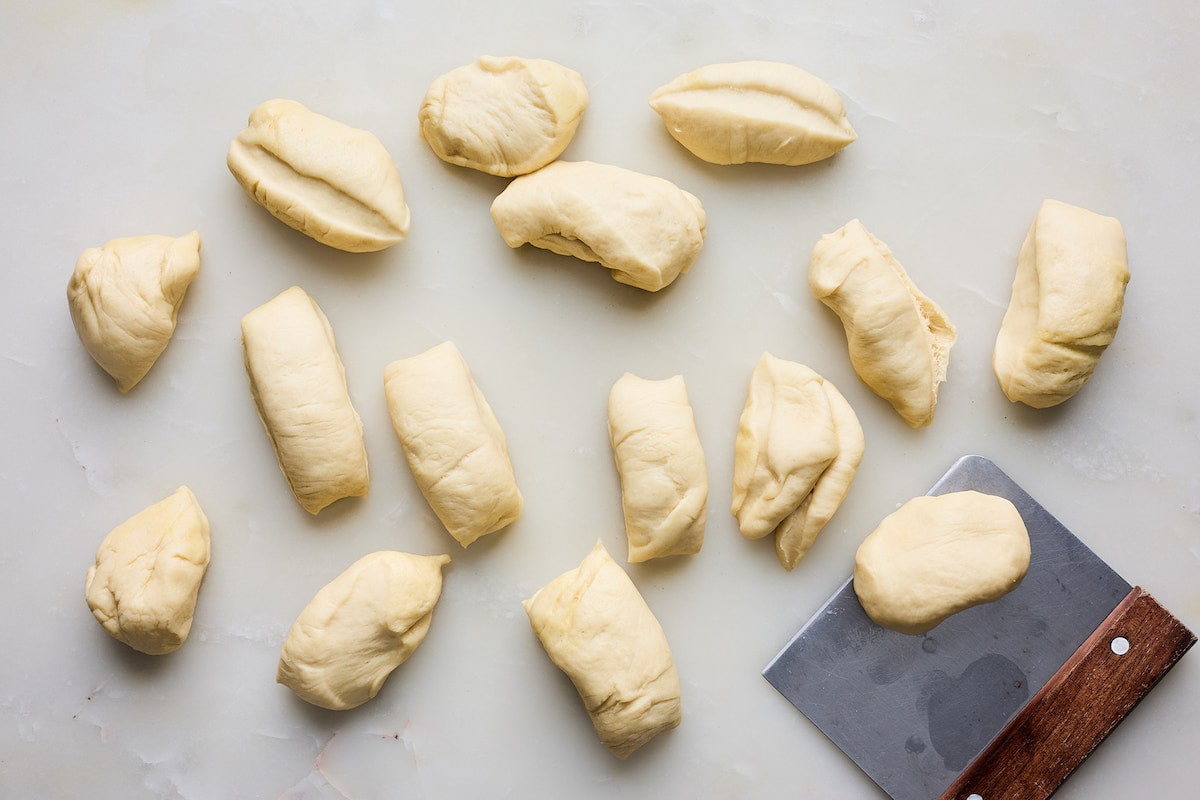
- Use a sharp knife or bench scraper to divide it into 14 to 16 equal pieces. Roll each piece into a round ball. Take portioned dough in one hand and use your fingers of the other hand to pull and stretch the dough over itself so the top is smooth, pinching it at the bottom. Roll each portion on your work surface until smooth and round.
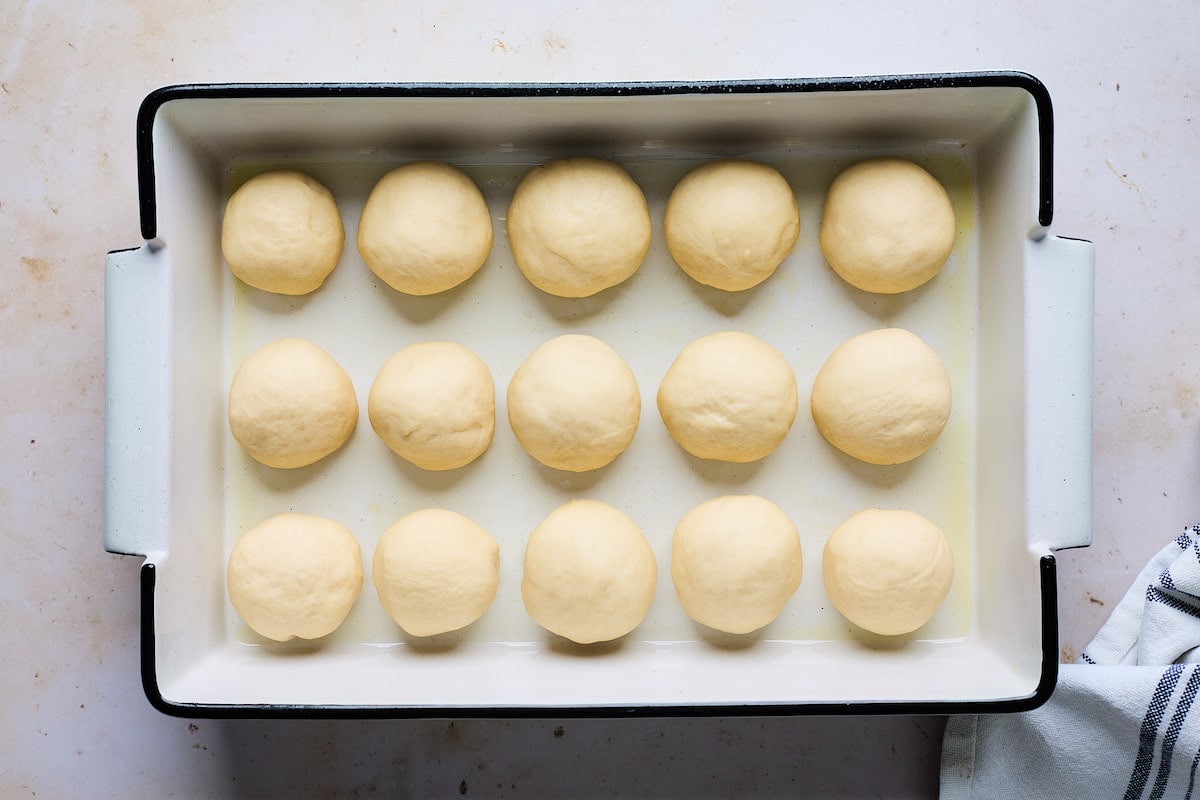
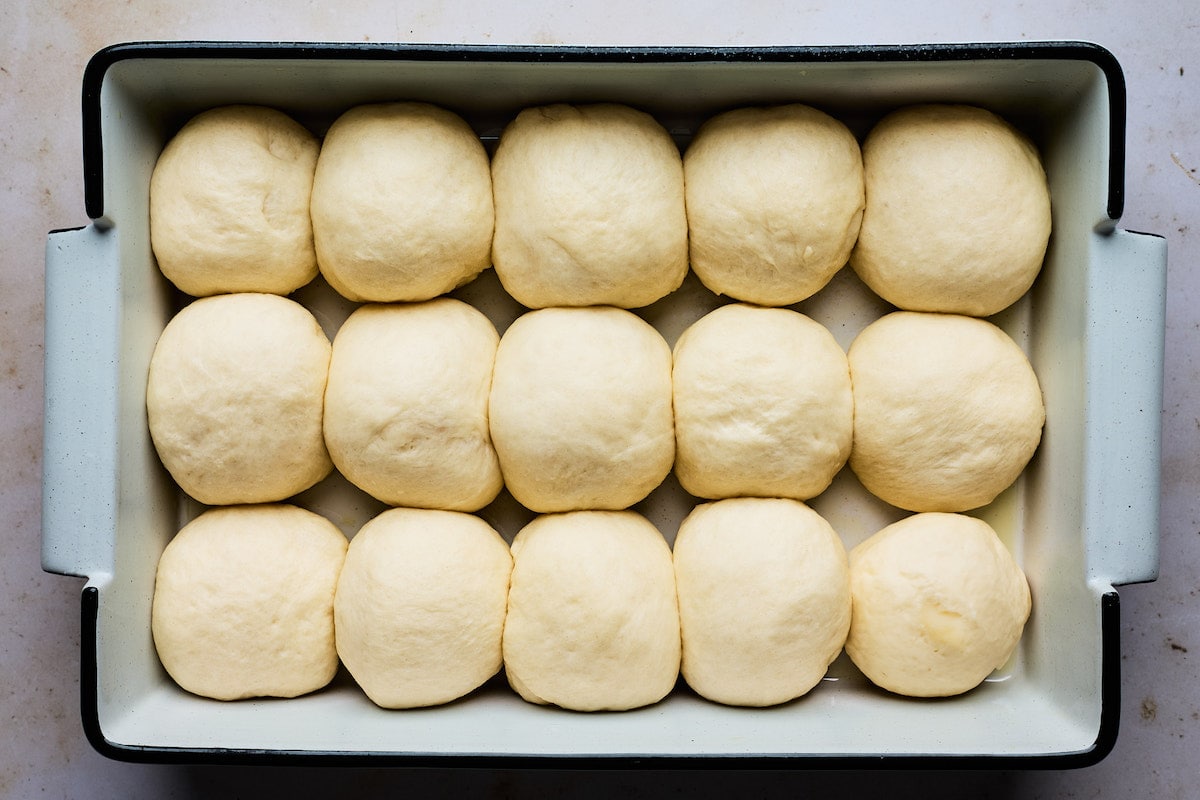
- Place the rolls in the prepared pan, leaving a little space in between each dough ball.
- Cover with plastic wrap or a clean kitchen towel and let rise for about 1 hour or until doubled in size.
- Preheat the oven to 350 degrees F. Bake for 20 to 25 minutes or until the rolls are golden brown on top.
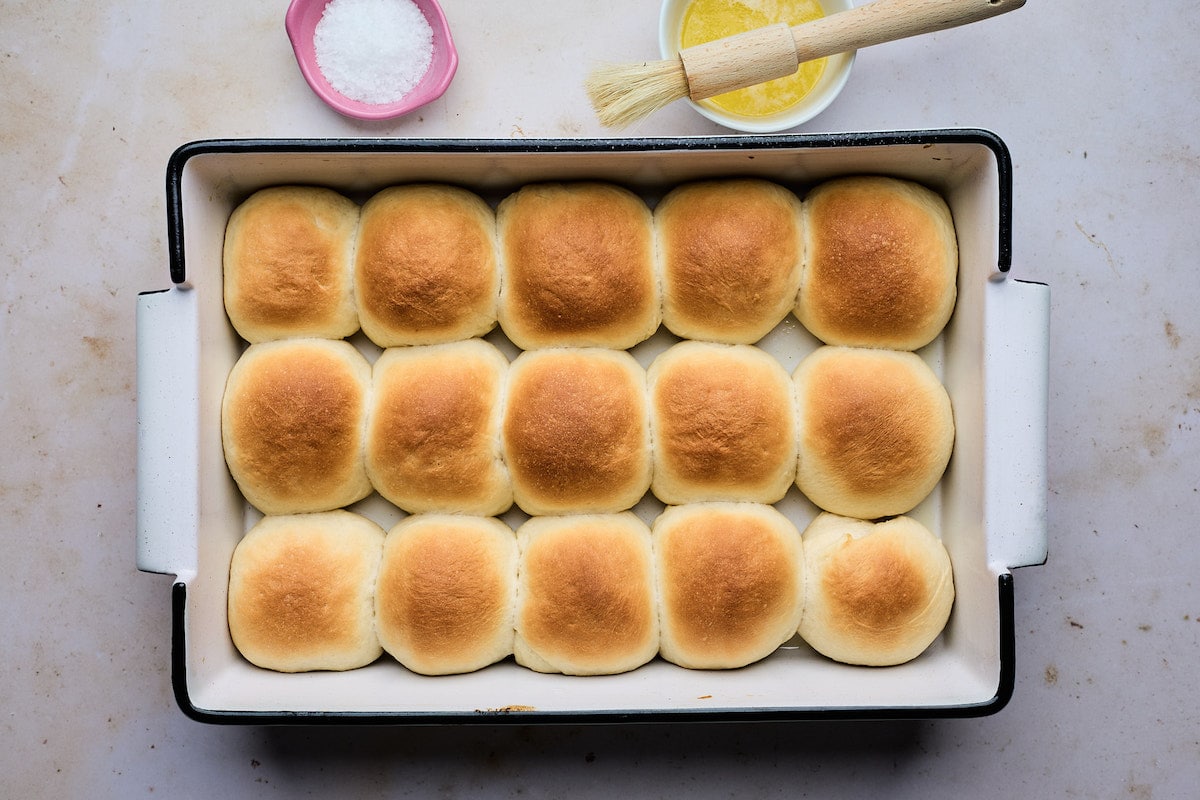
- Remove from the oven and brush the warm rolls with butter and sprinkle with flaky sea salt, if desired.
How to Make Rolls in Advance
If you need to make the rolls in advance, you can! Here are some tips!
- Refrigerating the Dough: When the dough is in a large ball, before the first rise, place it in the sprayed bowl and cover tightly with plastic wrap. Place in the refrigerator for up to 18 hours. Remove from the refrigerator and let the dough rise 2 more hours or until doubled in size. This method works well when you need the dough to rise slowly.
- Refrigerating After Shaping the Rolls: You can also refrigerate the dough after forming the balls, this will pause the second rise. Place the shaped dough balls in the pan and cover tightly with plastic wrap. Refrigerate for up to 48 hours. At least 3 hours before you are ready to bake, remove the rolls from the refrigerator, keep covered, and allow to rise on the counter for 1 to 2 hours.
How to Freeze Dinner Rolls
- Freezing Unbaked Rolls: Shape the dough into balls. Place the dough balls on a baking sheet that has been lined with parchment paper. Freeze for 30 minutes or until dough balls are solid. Transfer the frozen dough balls to a freezer bag. Label and date the bag. Freeze for up to 2 months.
- To Bake Frozen Rolls: Thaw the frozen dough balls on a baking sheet in the fridge overnight. Take them out of the fridge for about 30 minutes before baking. Bake according to recipe instructions.
- Freezing Baked Rolls: Let the rolls cool completely. You can wrap them in aluminum foil to make sure they stay extra fresh. Place in a freezer bag and remove as much air as possible. Freeze for 1 month.
- To Thaw Baked Rolls: Remove the rolls from the freezer the night before you plan to serve them. Let them thaw at room temperature overnight. You can serve the rolls at room temperature or warm them up in a 300 degree F oven for 8 to 10 minutes.
How to Store & Reheat
- Let the rolls cool completely. Store leftover rolls in an airtight container or bag on the counter for up to 3 days. I don’t recommend storing the rolls in the refrigerator because it dries them out.
- You can reheat dinner rolls in the microwave for 10 to 15 seconds, briefly in the air fryer (just until heated through), or in the oven.
- To reheat in the oven, preheat the oven to 300 degrees F. Place the rolls on a baking sheet and place in the oven for 8 to 10 minutes or until warm. Brush with butter and serve immediately because the rolls do tend to dry out faster after being reheated.
More Roll Recipes
- Parker House Rolls
- Pretzel Rolls
- Sweet Potato Rolls
- Cinnamon Rolls
- Raspberry Sweet Rolls
- Apple Cinnamon Rolls

Dinner Rolls
Ingredients
- 1 cup warm buttermilk, about 110 degrees F
- 2 1/4 teaspoons instant yeast, 1 packet
- 2 tablespoons granulated sugar, plus 1 teaspoon, divided
- 1 large egg
- 1/4 cup unsalted butter, softened
- 1 teaspoon kosher salt
- 3 cups all-purpose flour*
- Butter and flaky sea salt, for topping rolls
Instructions
- In the bowl of a stand mixer, whisk together the buttermilk, yeast, and 1 teaspoon of the granulated sugar. Let sit for 5 minutes.
- Add the remaining 2 tablespoons of sugar, egg, softened butter, salt, and 1 cup of the flour. Mix on low with the paddle attachment until well combined. Use a spatula to scrape down the sides of the bowl. Add the remaining flour. Switch to the dough hook and mix for about 2 minutes or until the dough forms a ball and pulls away from the sides of the bowl. If the dough is too sticky add a little more flour, 1 tablespoon at a time. The dough should be elastic and a little sticky, but still workable.
- You can use the dough hook to knead the dough for 3 to 5 minutes or you can transfer the dough to a lightly floured surface and knead by hand. Make sure you flour your hands if you are kneading by hand.
- Spray a large bowl with cooking spray and place the dough in the bowl. Cover the bowl with plastic wrap or a clean kitchen towel. Place the bowl in a warm, draft free place and let rise for 1 hour or until doubled in size.
- Grease a 9×13-inch baking pan or large cast iron skillet with softened butter and set aside.
- Punch the dough down and use a sharp knife or bench scraper to divide it into 14 to 16 equal pieces. Take portioned dough in one hand and use your fingers of the other hand to pull and stretch the dough over itself so the top is smooth, pinching it at the bottom. Roll each portion on your work surface until smooth and round. Place in the prepared pan, leaving a little space in between each dough ball.
- Cover with plastic wrap or a clean kitchen towel and let rise for about 1 hour or until doubled in size.
- Preheat the oven to 350 degrees F. Bake for 20 to 25 minutes or until the rolls are golden brown on top. Remove from the oven and brush the warm rolls with butter and sprinkle with flaky sea salt, if desired.
Notes
Nutrition
Have you tried this recipe?
Leave a comment below and share a photo on Instagram. Tag @twopeasandpod and hashtag it with #twopeasandtheirpod


Great recipe. I loved the idea of sprinkling with flakey sea salt. I’ve been doing it with cookies for a few years but didn’t think of doing it for rolls, loved it!
The perfect finishing touch!
These look really good! I was wondering if substituting milk with lemon juice or vinegar for the butter milk would work?
Yes! We’ve even made them with whole milk and they are great.
I just made your dinner rolls. They are for tomorrow’s dinner. They look great. Thank you for the recipe.
I am so glad you had success with our recipe. Thanks for sharing. Enjoy!
Made these today for T-Day. They turned out great! Great recipe!
Yahoo! Thank you for letting us know.
This recipe has given me confidence now with breads! I tried (unsuccessfully) with another roll recipe and they turned out too dense and just not very palatable. Today I made your recipe and the rolls are fluffy and so delicious! We have been snacking on them throughout the day!
Way to go! I am so glad you had success with our recipe.
Delicious! Recipe is easy to follow and rolls were a crowd pleaser at Thanksgiving. Sprinkling with salt at the end was an important step because they do need salt. Otherwise, perfect!
We love finishing with flaky sea salt!
Another winner from Maria and Josh!
We made these on Tuesday afternoon, shaped into rolls after the first rise, refrigerated covered until Thursday morning, set on the counter for 3 hours for the second rise, and baked them for fresh rolls on Thanksgiving morning. They were wonderful!
I am so glad you loved our rolls!